Active Q-Switch Nd:Yag Laser Multi-Functional Machine
PİKOLAS
● Tattoo Removal
● Pigmented Lesions
● Vascular Lesions
● Wrinkles
● Hair Removal
● Onychomycosis
● Skin Rejuvenation

Machine display


Assembly order
| 1. Unpacking |
|---|
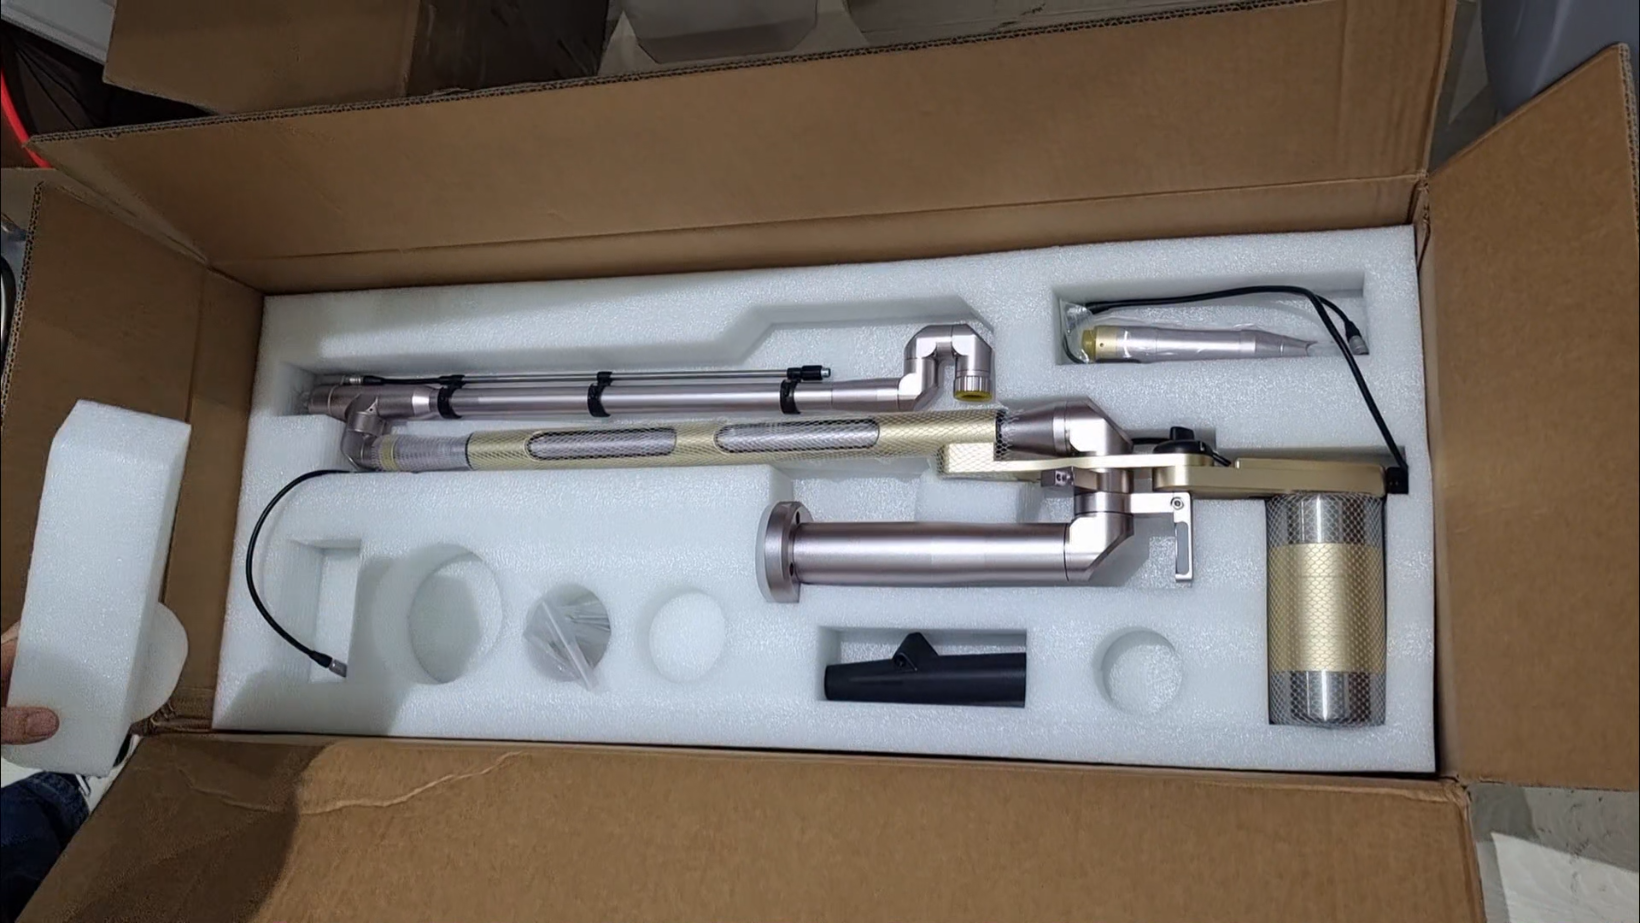
| Unpacking. |
| Please use the hexagonal screws and screwdriver included in the box. |
| 2. Place the column |
|---|
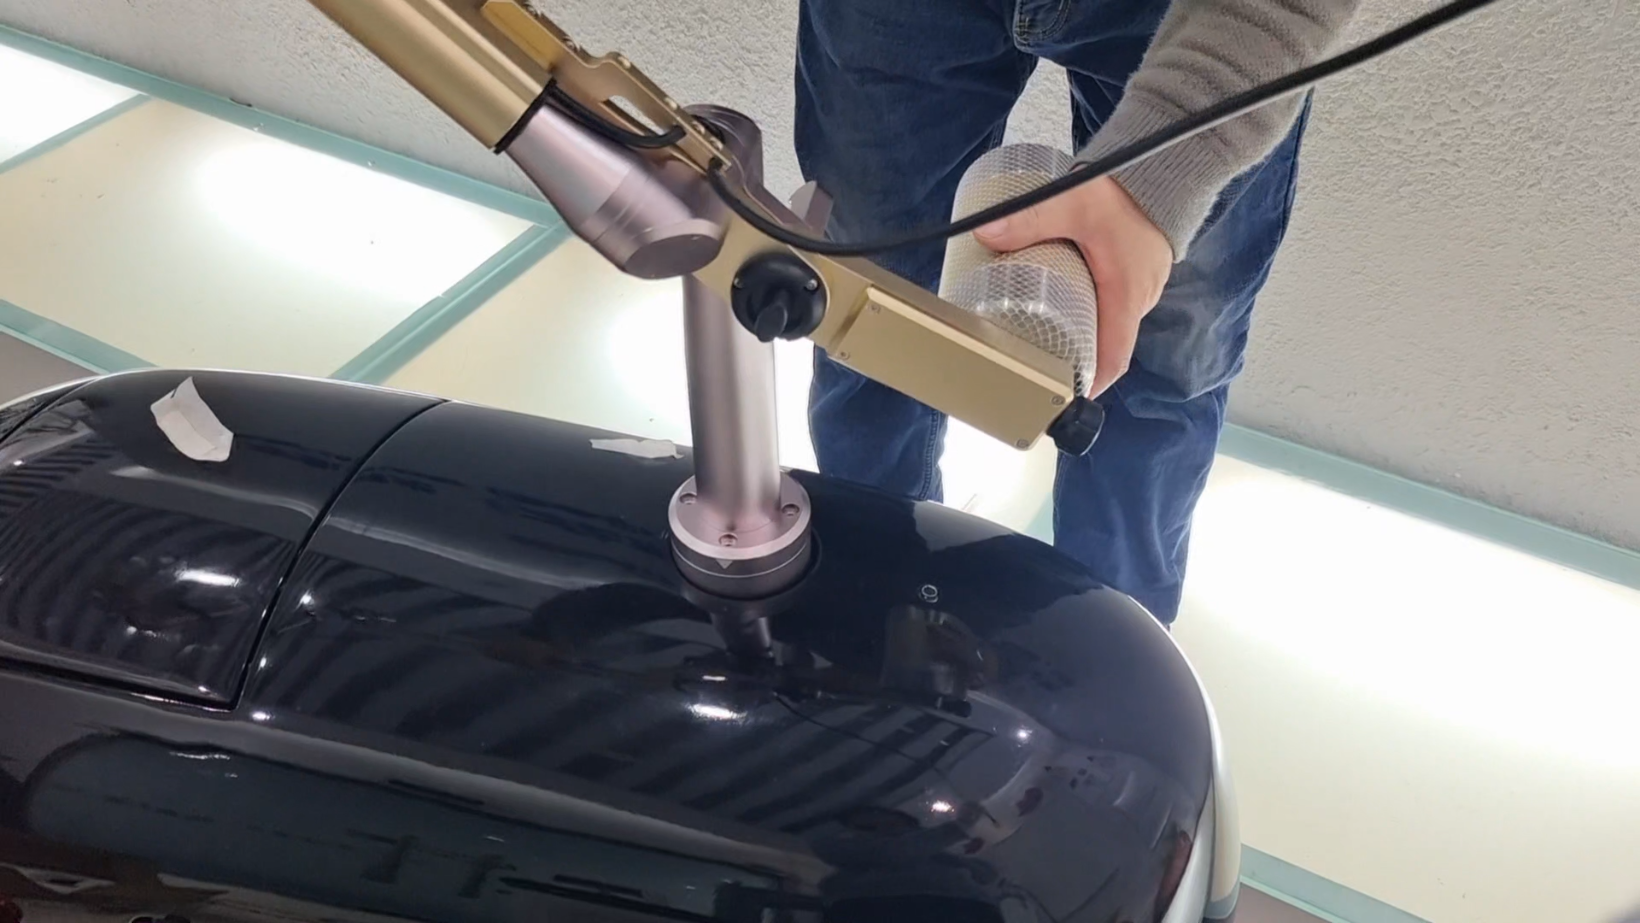
| Take out the light guide arm and place the column on the matching base of the machine. |
| Not: The gel cushion should be on the side close to the column. |
| If it is on the side away from the column, it is wrong. Please change the position when the column is not fixed. |
| 3. Rotate the column |
|---|
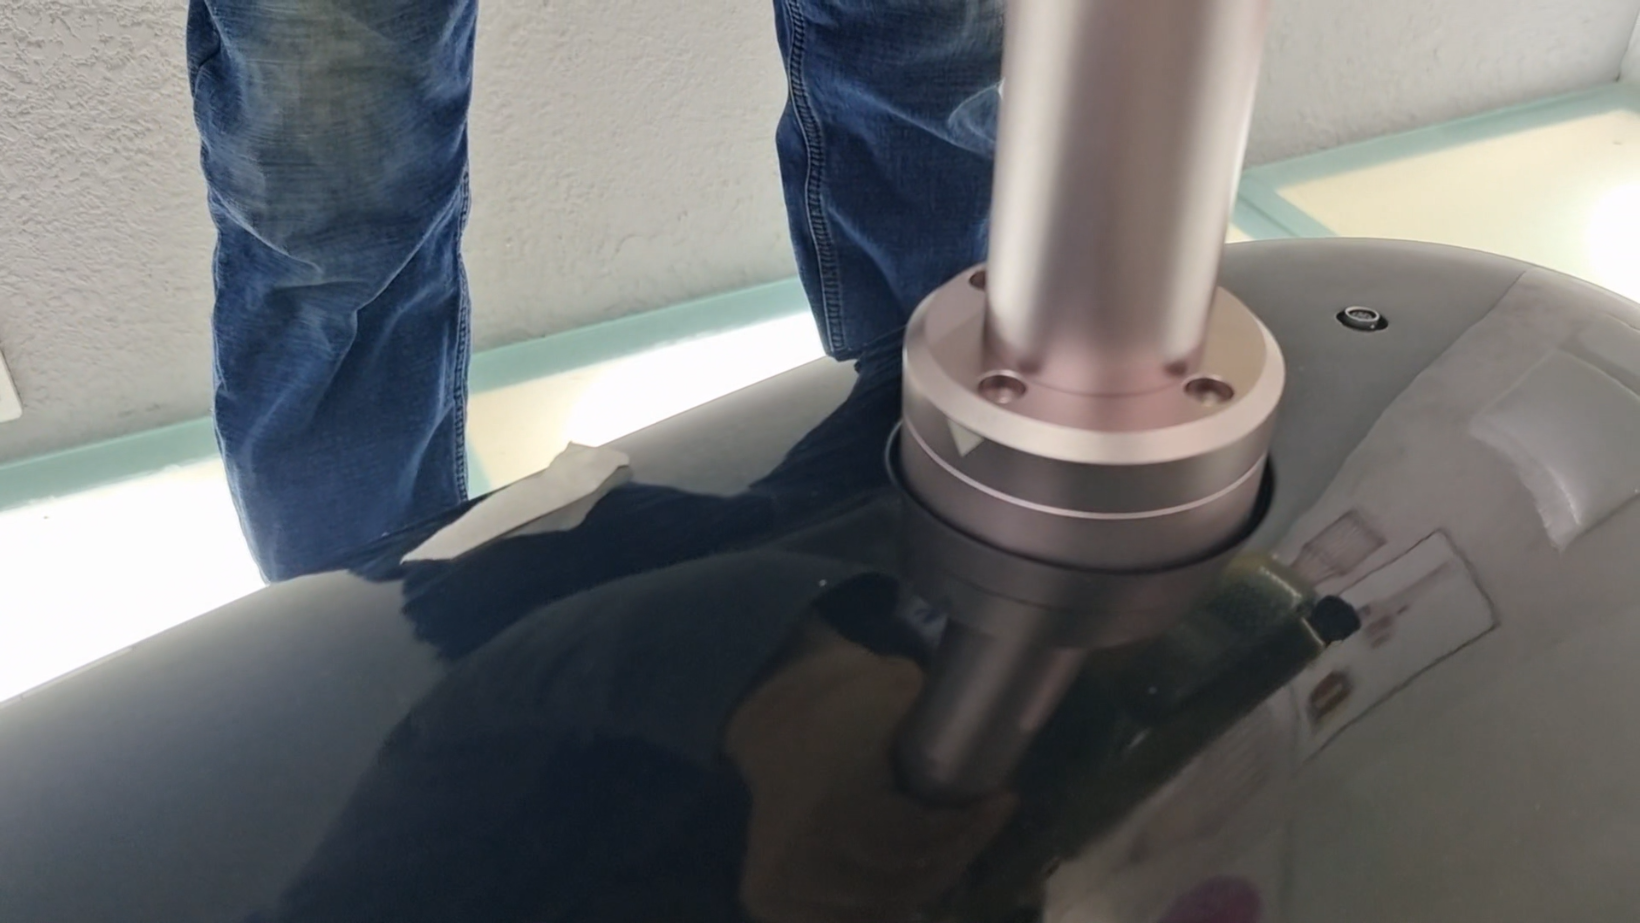
| Rotate the column and point the “FRONT▼” marked on the bottom toward the front of the machine, yani, the screen direction. |
| 4. Fix the base |
|---|
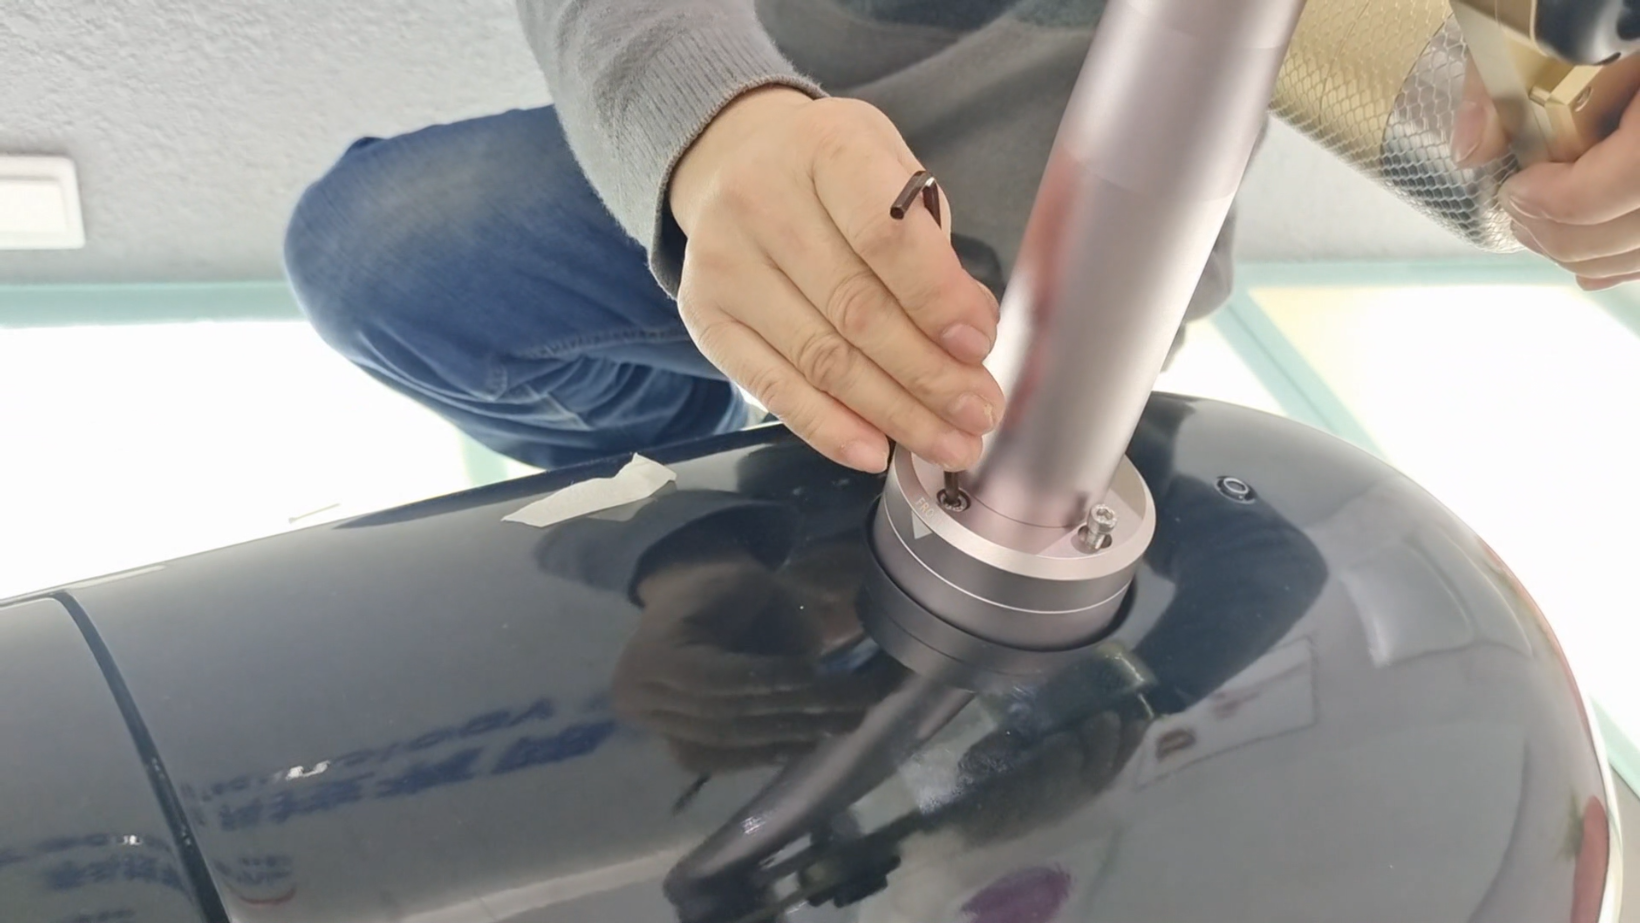
| Fix the base of the light guide arm with 4 hexagonal screws. |
| 5. Insert the wire |
|---|
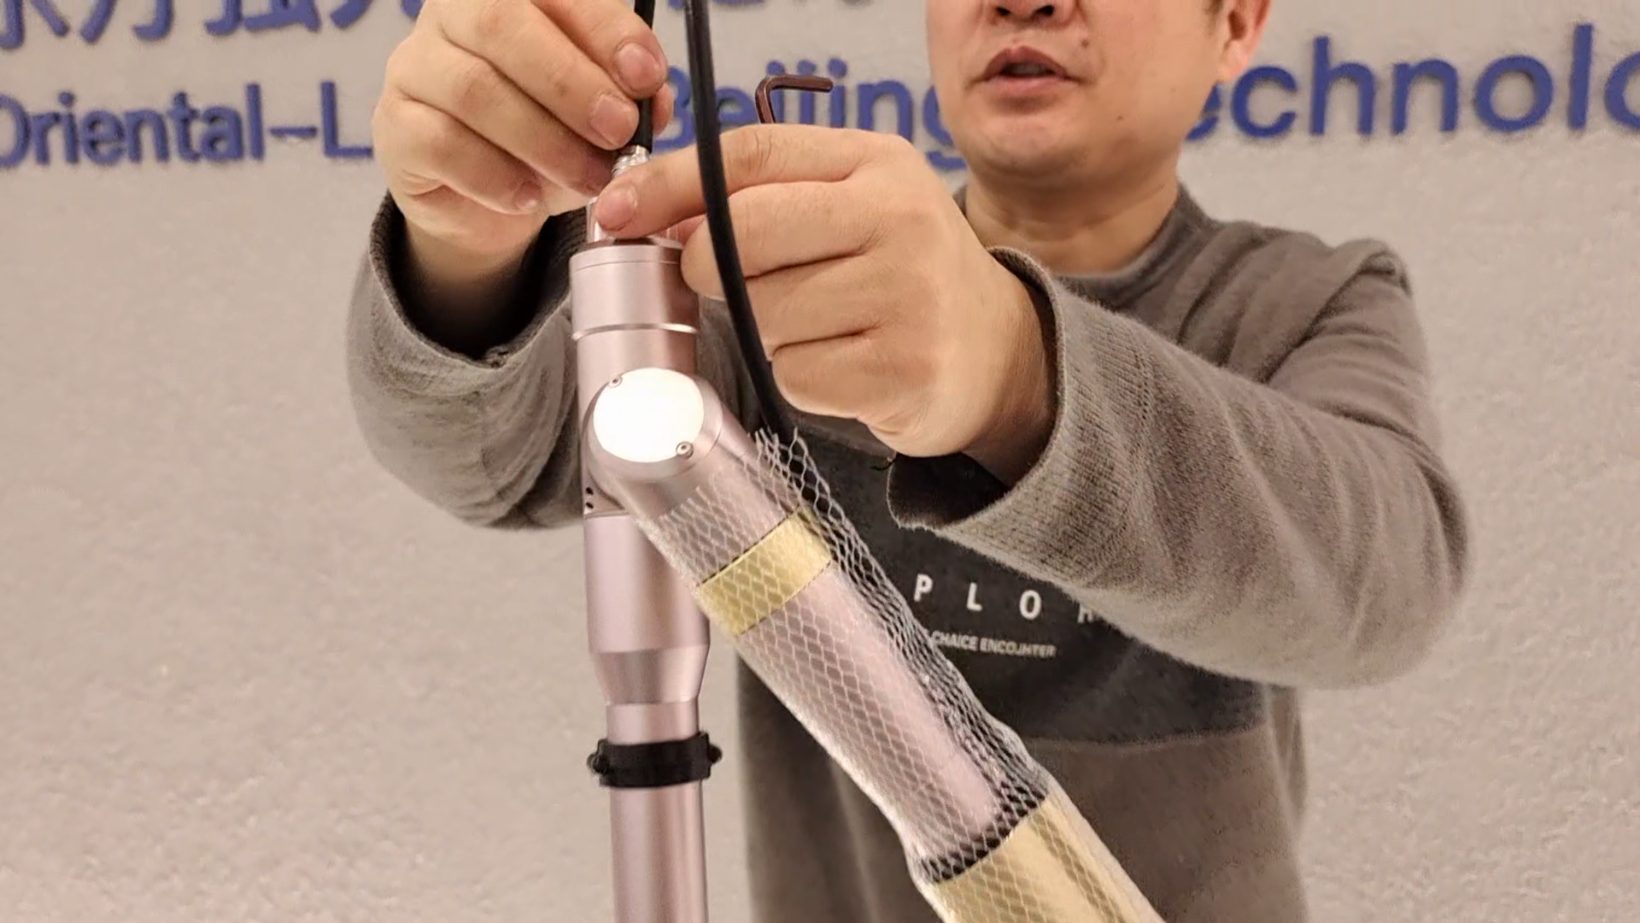
| Insert the black wire at the bottom of the light guide arm into the socket at the top of the machine. |
| Note that you need to align the 5 protrusions in the plug with the 5 grooves in the socket by rotating, and then press it in firmly. |

| 6. Insert the wire |
|---|
| Insert the other end of the black wire into the socket at the top of the forearm in the same way. |
| 7. Rotate the counterweight |
|---|
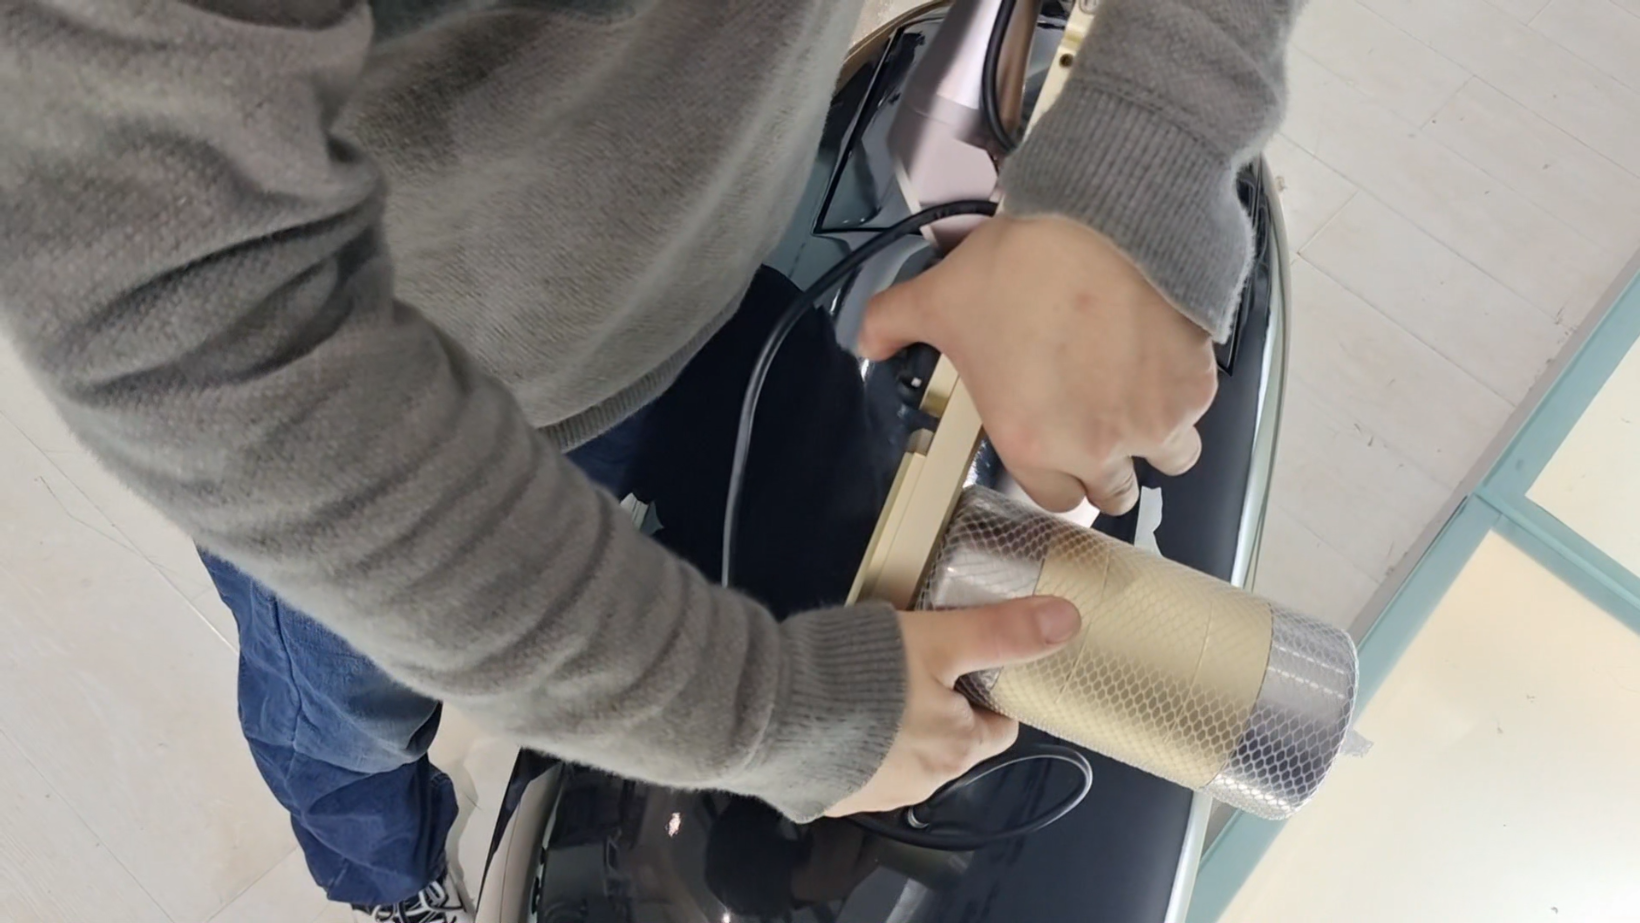
| Turn the black straight-shaped knob on the side of the light guide arm to the loosest position, press the knob firmly, and at the same time, hold the counterweight firmly and rotate it upward to the appropriate angle. |
| Then release the knob. |
| 8. Adjust the distance of the counterweight |
|---|
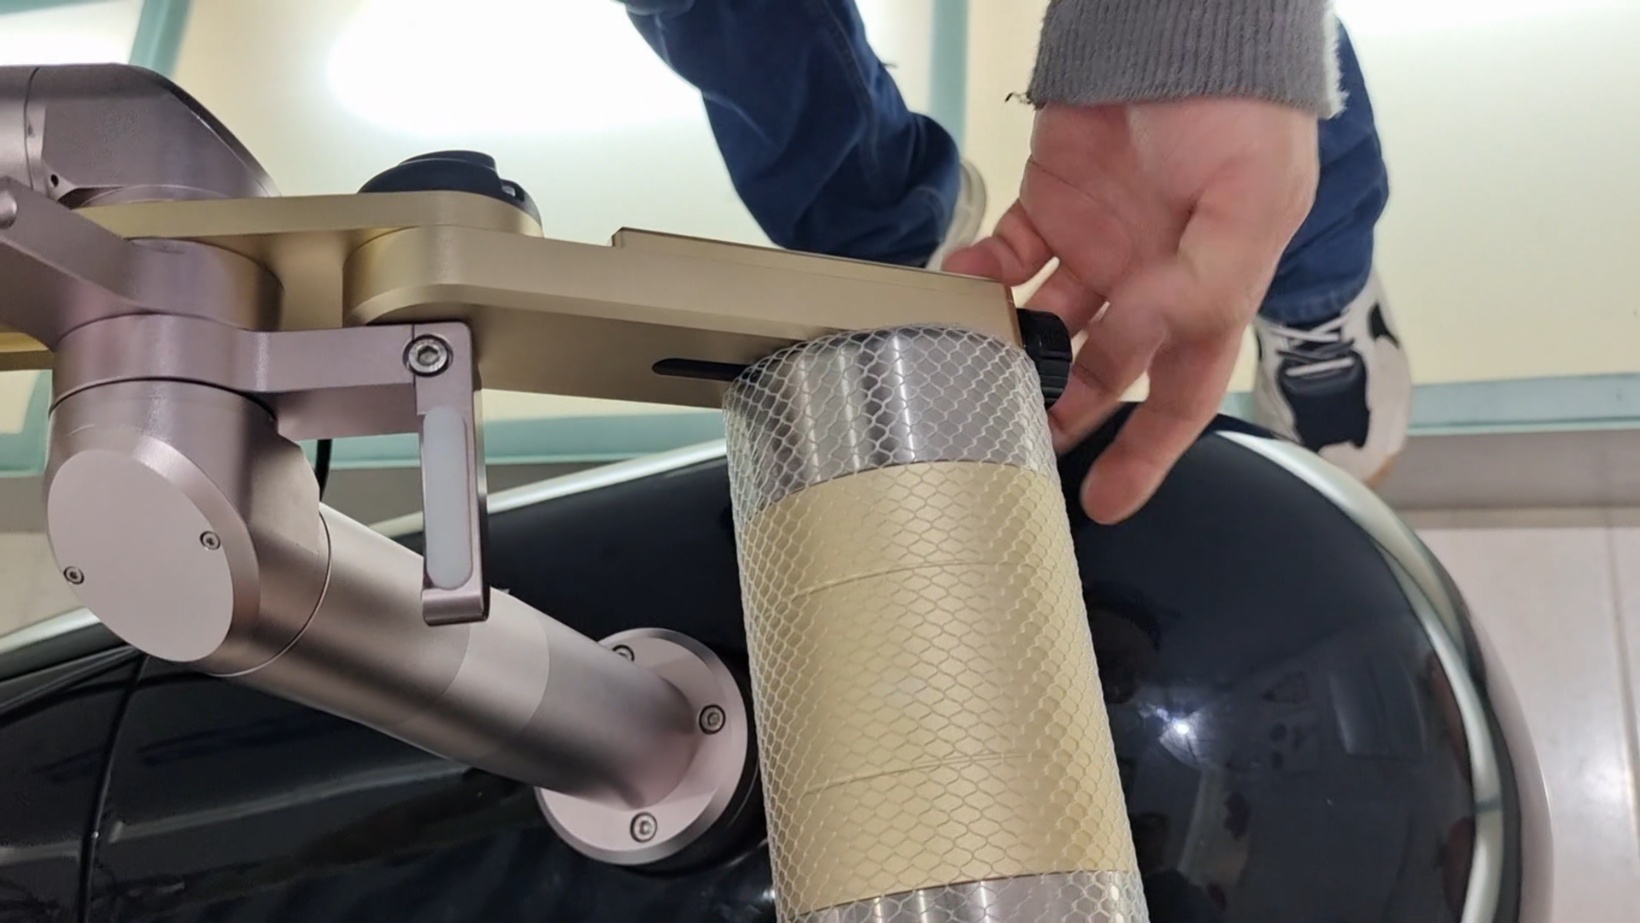
| Rotate the black gear-shaped knob at the end of the counterweight bracket to adjust the distance between the counterweight and the light guide arm. |
| 9. Fix the handpiece |
|---|
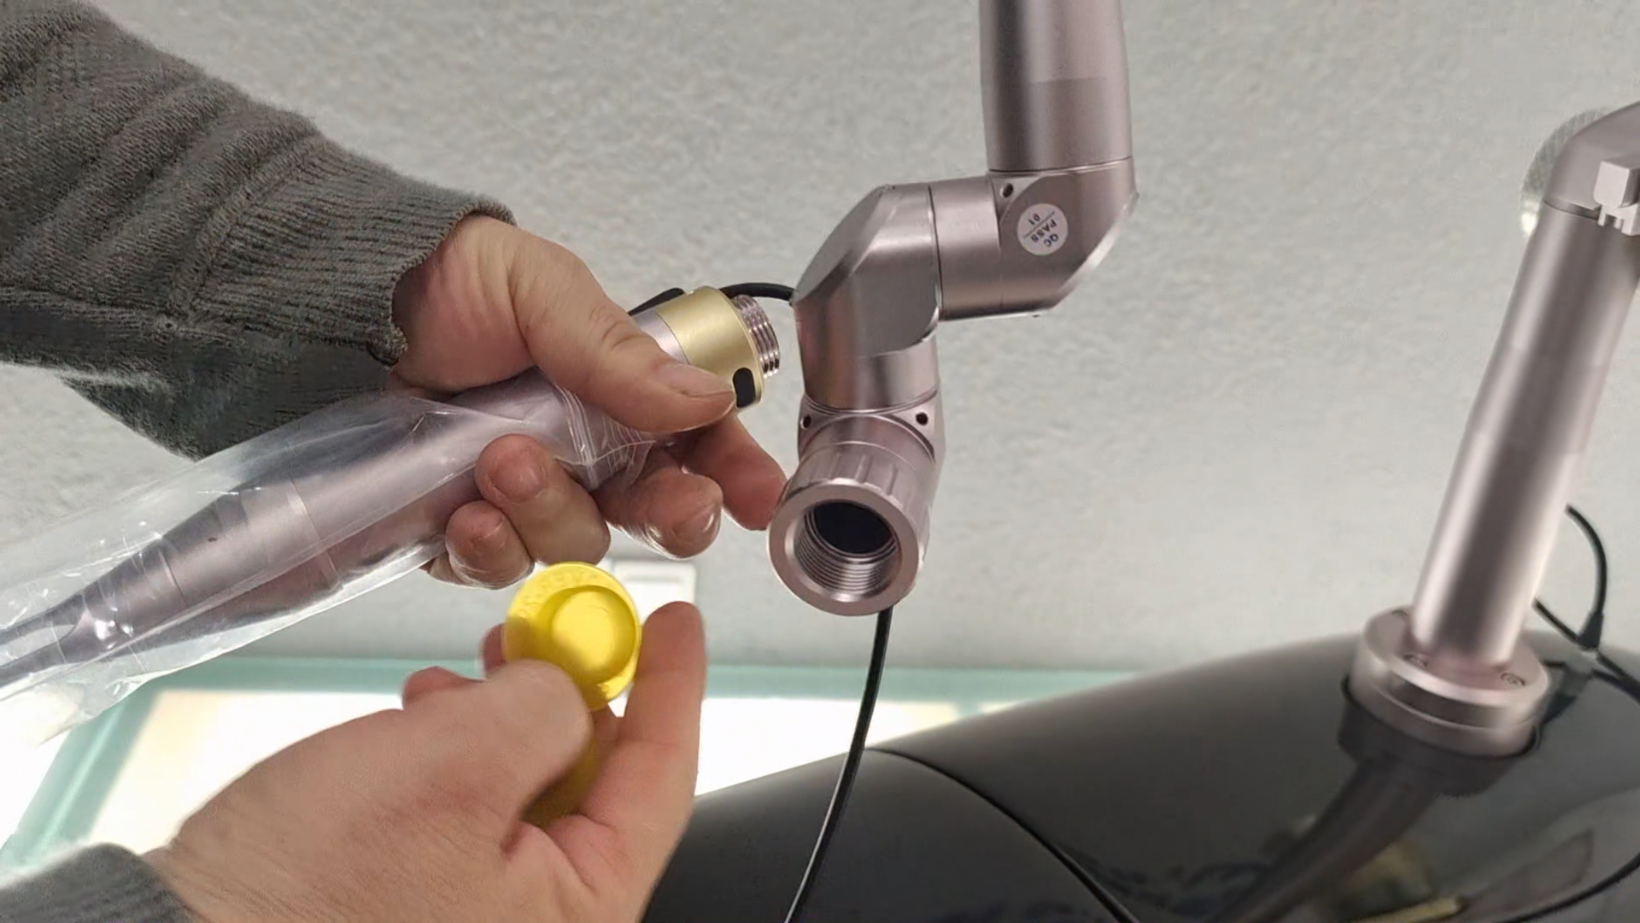
| Rotate to secure the handle. Insert the black wire of the handpiece into the socket at the bottom of the forearm in the same way as above. |
| 10. Fix the cushion |
|---|
| Insert the cushion part into the groove below the light guide arm from below, with the cushion facing downward, and fix it with a hexagonal screw from below. |

| 11. Fix the handpiece holder |
|---|
| Insert the handpiece holder into the light guide arm with the hole facing upward, align the screw hole of the handpiece holder with any of the two free screw holes of the light guide arm, and fix it with a hexagonal screw. |
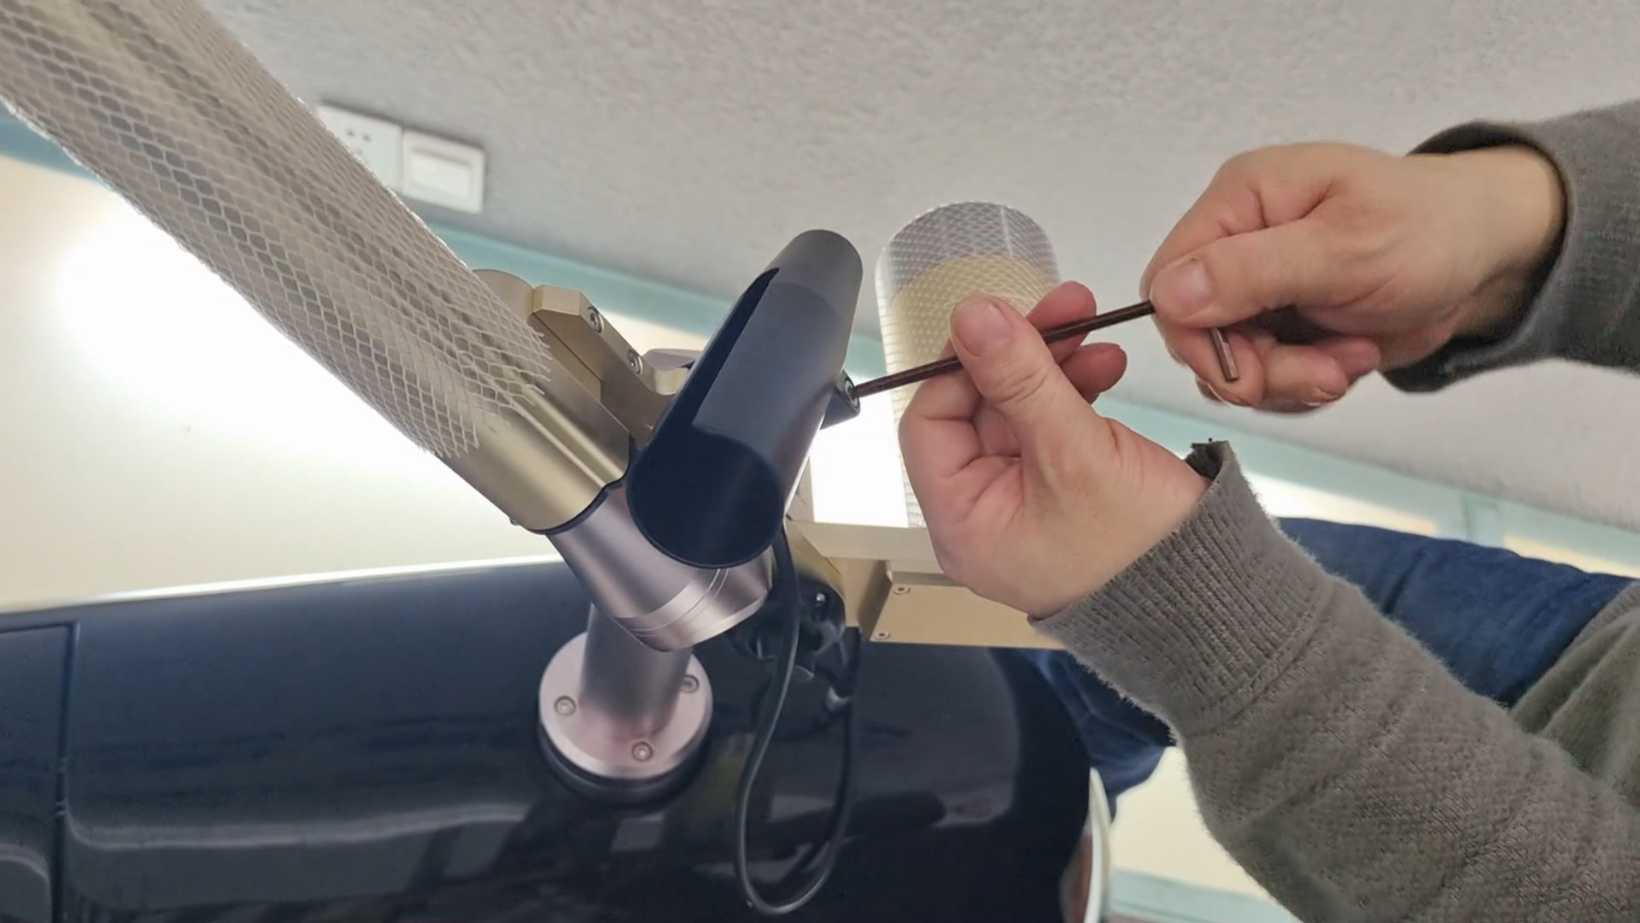
| 12. Adjust according to the usage |
|---|
| You can adjust the position of the handpiece holder, the angle and distance of the counterweight at any time according to the usage. |
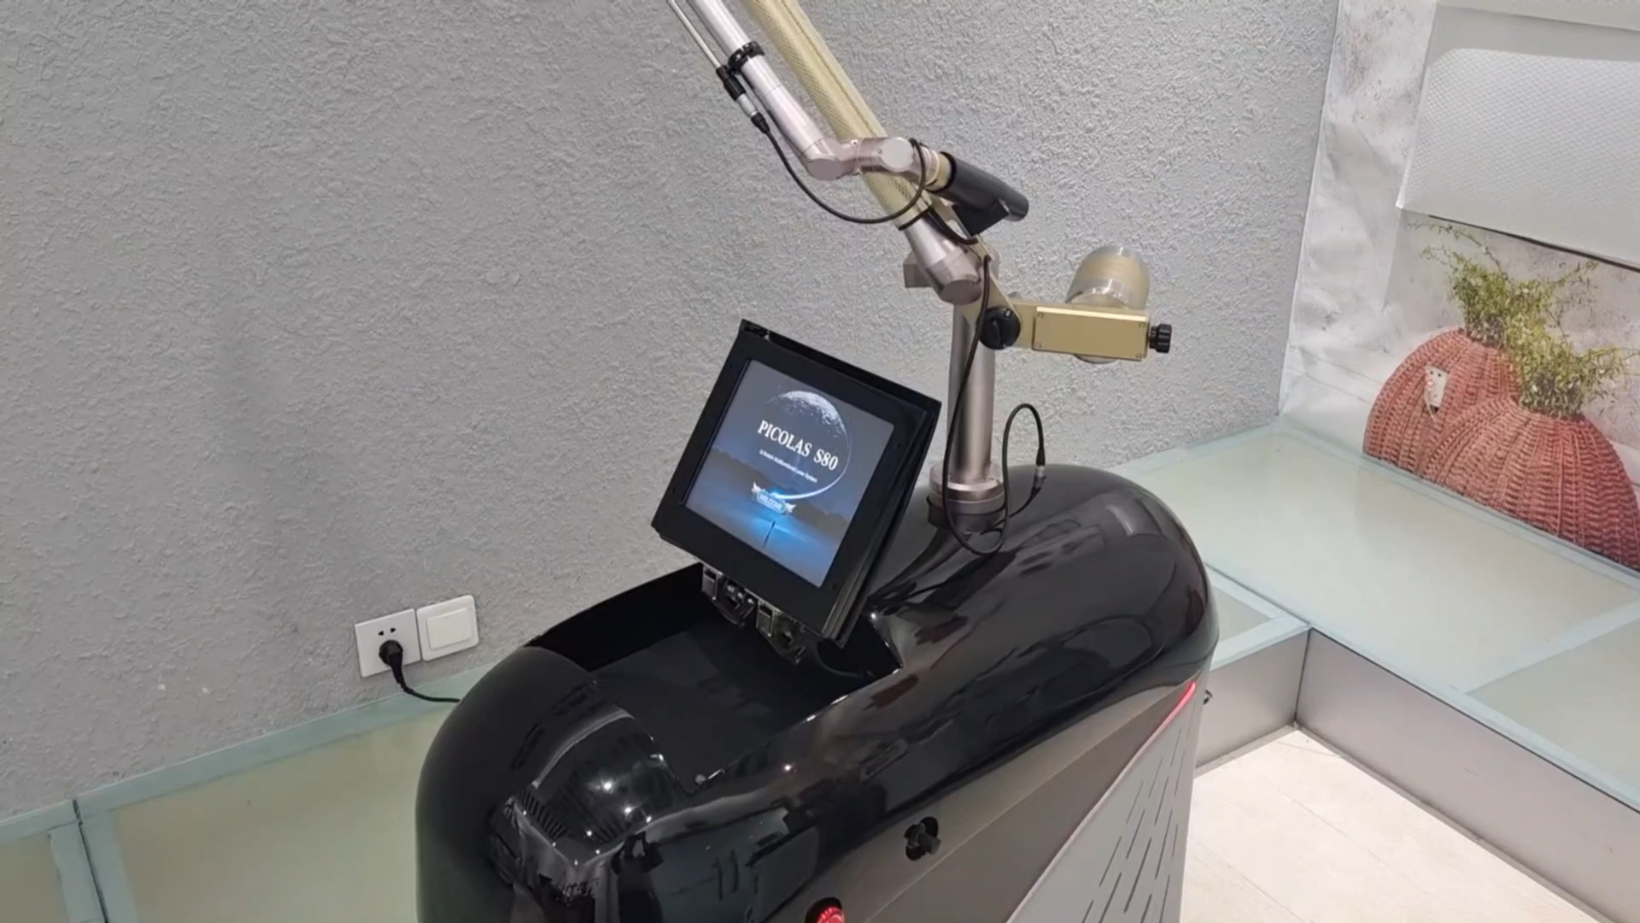
Assembly video tutorial